Starting your first saltwater reef tank can seem like a daunting task, but it’s also an exciting opportunity to create a vibrant marine ecosystem in your home. This guide will walk you through the essential steps to set up a thriving reef tank while keeping the process manageable and enjoyable.
Whether you’re drawn to colorful corals, fascinating fish, or the technical challenge, this guide will help you succeed.

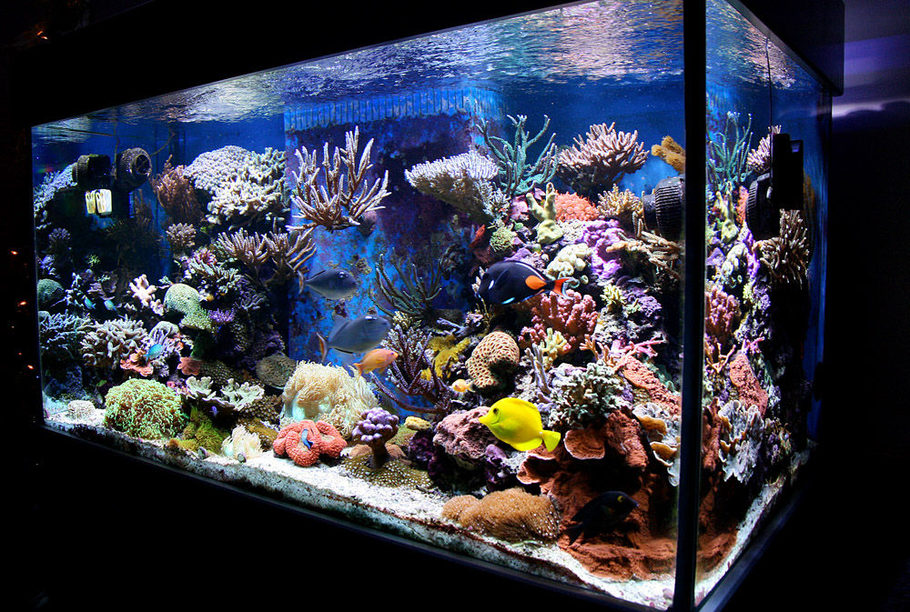
A beautifully arranged reef tank setup featuring vibrant corals, live rock, and marine fish, showcasing a balanced and thriving ecosystem.
Step 1: Planning
Decide What You Want to Keep
Before anything else, determine your tank’s purpose. Are you aiming for a mixed reef with fish and corals, or a species-specific tank? Your choices will guide equipment selection and setup. For beginners, a community reef tank with hardy fish and corals is a great option.
Research the care requirements of your chosen species to avoid compatibility issues later. Get yourself a good marine fish guide.
Choose the Right Tank Size
Tank size matters, especially for beginners. Larger tanks (40 gallons or more) are more stable and forgiving, while smaller tanks require more careful monitoring.
If you’re unsure where to start, consider a beginner-friendly tank kit.
Location Matters
Select a stable, accessible spot for your aquarium, away from direct sunlight and drafts. Measure your space and ensure it accommodates both the tank and stand.
Step 2: Equipment Setup
All-in-One Systems vs. Custom Builds
An all-in-one tank simplifies the process for beginners, including essential components like lighting and filtration. If you prefer flexibility, building your setup from scratch allows for tailored upgrades over time.
For a custom setup, here’s what you’ll need:
- Aquarium tank
- Aquarium stand
- Powerheads for water flow
- Filtration system (mechanical, biological, and chemical)
- Protein skimmer for nutrient removal
- RODI system for water preparation
- LED reef lighting
- Heater
- Live rock or bio-media
- Buckets or containers for mixing saltwater

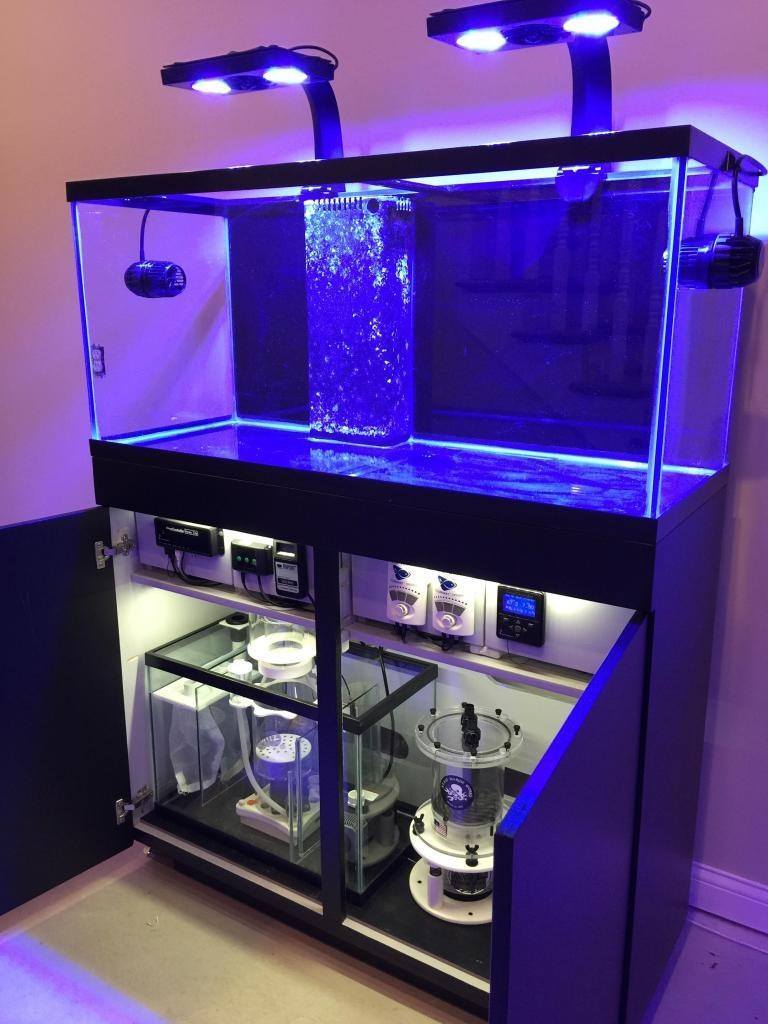
Reef tank setup displaying a sump system with filtration equipment, including protein skimmer, return pump, and heaters, demonstrating the essentials of advanced marine tank maintenance.
Step 3: Preparing Saltwater
Mixing Your Own Saltwater
Many aquarists prefer to mix their own saltwater using RODI water and marine salt. This method is cost-effective and ensures consistency. You will need to get some aquarium-grade marine salt.
Store your mixed saltwater in a clean container and keep extra on hand for emergencies.
Water Testing
Regular water testing is crucial for maintaining optimal tank conditions. Test weekly for parameters like salinity, alkalinity, and calcium. Investing in a reliable test kit will save trips to the local fish store.
Step 4: Light, Flow, and Filtration
Lighting
Reef tanks require lighting suited for photosynthetic corals. Start with shorter light periods (6-8 hours daily) and gradually adjust intensity. Proper lighting supports coral health while minimizing algae growth.
Water Flow
Use powerheads to create currents that mimic natural ocean conditions. Adequate flow supports gas exchange and prevents debris from settling on corals.

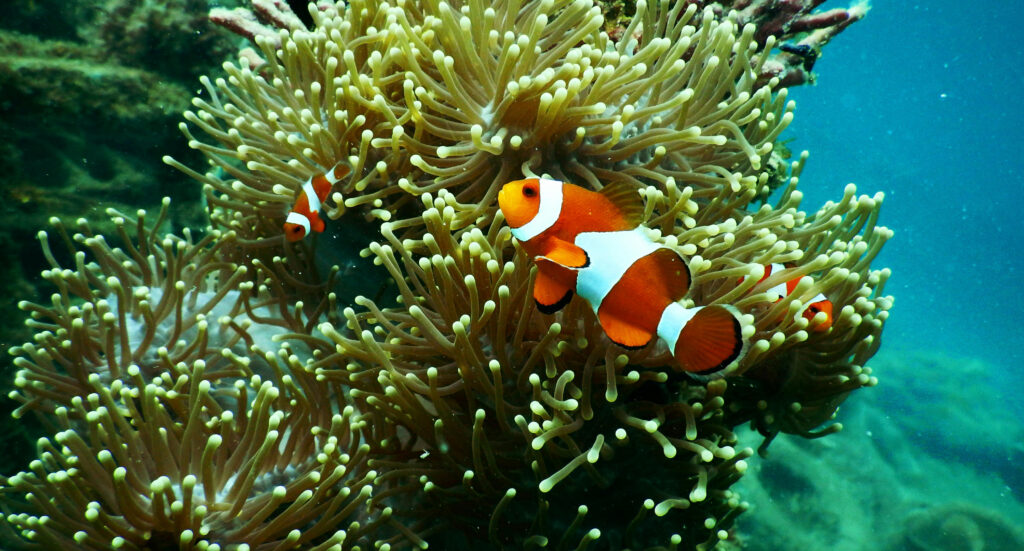
Clownfish (Amphiprion ocellaris) swimming among sea anemones in a vibrant coral reef.
Filtration
A successful reef tank relies on three types of filtration:
- Mechanical: Removes debris with sponge filters.
- Biological: Facilitates the nitrogen cycle through beneficial bacteria.
- Chemical: Removes impurities using activated carbon or other media.
Step 5: Adding Livestock
Once your tank has cycled (about six weeks), you can slowly add livestock. Start with hardy invertebrates like snails and hermit crabs, then introduce beginner corals such as zoanthids or mushrooms.
Research fish compatibility and add them gradually to avoid overloading your tank’s biofilter. Look into a fish acclimation kit.

Step 6: Maintenance
Water Changes
Perform regular water changes (about 20% weekly) to remove excess nutrients and replenish essential elements. A siphon and water-changing system can simplify this routine.
Routine Cleaning
- Protein Skimmer: Clean the collection cup weekly to maintain efficiency.
- Glass Panels: Use a magnetic scraper to keep your tank clear of algae.
Top-Off Water
Replenish evaporated water daily with RODI water to maintain consistent salinity. An automatic top-off system can save time and effort.
Final Thoughts
Building a saltwater reef tank is a fulfilling journey that combines creativity, patience, and technical know-how. Start small, embrace the learning process, and enjoy watching your marine environment thrive. With the right preparation and care, your reef tank will bring years of beauty and enjoyment to your home.
